My friend John had one of those birthdays this year - you know the sort I mean. I was tempted to play a cruel and horrible joke on him, but then there would be nothing unusual in that. Instead I made him a portrait quilt.
I hand dyed all fabrics except the very darkest one (a commercial batik) that I hand coloured darker with fabric pens.
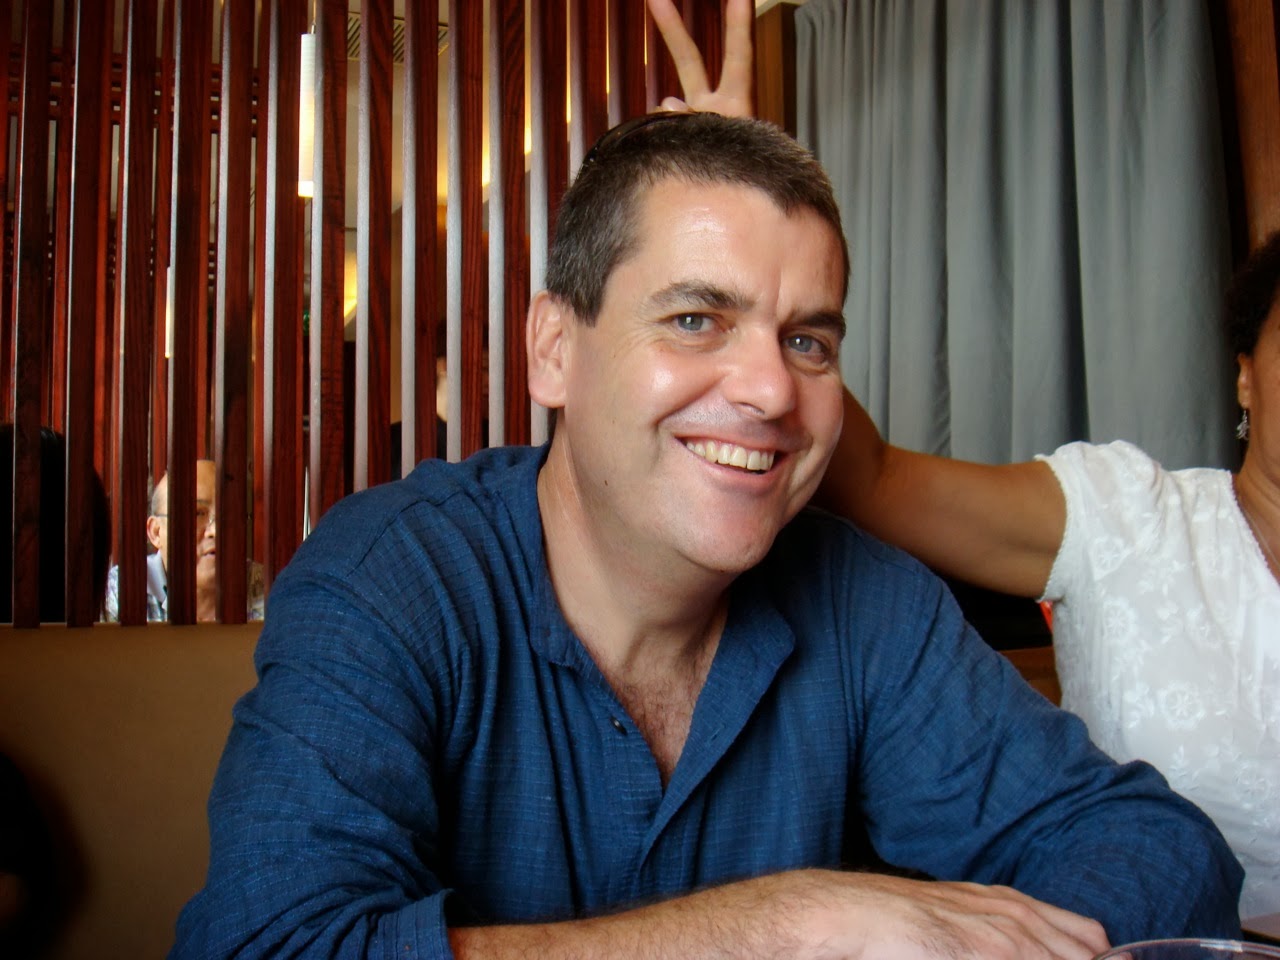
This is the original photo (yes those are my fingers). Using photoshop I removed all the extraneous images (though I briefly considered leaving the fingers as I thought he looked cute as an unsuspecting bunny).
Again using photoshop, I converted the picture to its values, 5 in all. It took a lot of fiddling because I kept losing his eye in the process. This became my reference picture. One thing to remember with this process is that you need a good photo to work from. No matter how charming a photo is, if you convert it to values via a computer, that photo needs to be clear.
Next I traced that image. Usually you would number each individual element, but at the time I was doing it, time was short and I thought, why bother? Well I'll tell you why. By the time I was part way through the face (approximately 30 pieces), trying to work out what went where with such odd looking bits, I realised why one should take the extra time and number them and indicate right side up! This traced copy is used as the pattern for tracing the individual elements onto Steam-a-Seam.
I should also add that it was the second time that I got to this point as I originally chose another picture, which turned out to be really very complex with much smaller individual fabric components than this one.
Yet another tracing was made, this time in clear vinyl. This became the overlay sheet for making sure pieces sat in the correct place.
The overlay sheet was attached to the base fabric. Individual pieces were slotted into place using tweezers. because the pieces were so small, it was quite fiddly to keep everything in place. I had to do it several times and in the end lightly heated the Steam-a-Seam to adhere the bits temporarily. In the end I gave up and properly attached all the bits once the main elements were in place.
At this stage, the face is in place and the shirt is underway.
Close up of the face before the pieces were sewn in place.
Originally I had intended for the quilt to end way past the top of the head, but after quilting it all I decided that cutting the piece down to the height of the head, gave better focus on the face.
A close up of the quilting.
Finally carefully wrap it up in plastic to protect it. Then spend an evening agonising whether or not it would be better to put it in your carry-on bag (where it would get crumpled) or put it flat in your suitcase (I chose the latter with no dire results). Finally offer up the gift and hope that it is loved (which I think it was!).


I don't understand why there isn't a victory hand gesture in the background :) Beautiful work, even the husband agrees (that doesn't happen often).
ReplyDeleteI will have to try this for sure.
As always, anything you do in textiles is amazing. Well done. From another receiver - he is a lucky man. jt
ReplyDelete